

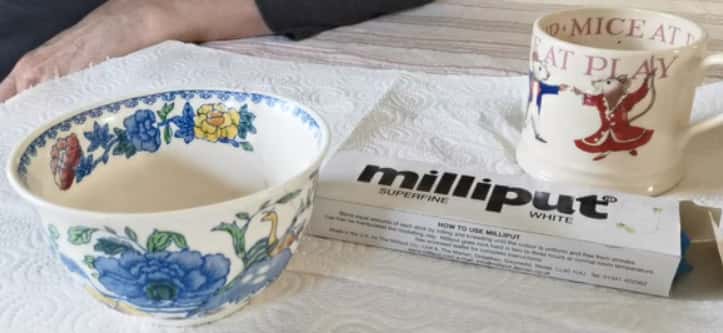
How To Repair Ceramic Bowl
Ceramic bowls can sometimes develop traps in them, so we must know the technique to remove the cracks from them. If your favorite basin gets a crack, you don't need to be very at all. We'll effort to hash out here stride by step that how you tin repair your ceramic bowl free of price. Epoxy adhesives tin can work well to repair your ceramic bowl that information technology will look like the new i. Let's see here how to repair a ceramic basin easily.
Method Using A2 dash part epoxy
Have a bucket: Prepare to repair a ceramic basin
Take a bucket and fill one gallon off sand, which will work as a Holder. Information technology is unnecessary for all the equipment, merely information technology is necessary for the cracks that develop on some angle. It will make you enable to utilize both your easily to clear up the repairs.
In example you lack the sand, then you can have the same exactly using rice.
Must use deep pottery to concord the sand like you should use a deep plate, a shallow serving dish, or a large pot. Read more than, KitchenAid ceramic bowl reviews.
Identification of broken edge:
Place the identify from where your ceramic basin was broken. The broken expanse will have ridges that need to be smoothen, so use sandpaper to rub on that area. Back and forth motility volition put equal pressure level on the edges and keep practicing until the edges are polish.
If you lot are fixing a cleft on your stomach bowels instead of a complete break, yous don't have to use sandpaper anymore. Step we use booze and cotton assurance. Make clean all the pieces that are broken with denatured or 90% alcohol and cotton assurance. Completely wipe the edges from the broken pottery and also from the main role using alcohol and cotton balls. One time you accept done wiping, go out both surfaces to dry before moving on to the next step. This process is necessary as it will provide ameliorate zipper for adhesive. Check here, how to cook with a ceramic pan?
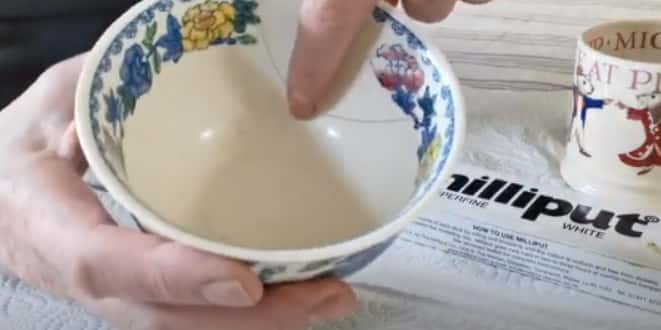
Mixing the adhesives to gear up a ceramic bowl
Accept ii parts of epoxy adhesives in a nonporous sheet, and mix them up using a wooden or plastic stick. Quickly mix them instead of doing this slowly. Be alert because if you lot fail in mixing, information technology'll exist hardened in a3 or 4 minutes. At present, fill up the crack in a ceramic bowl to re-adhere.
In the market place, a variety of epoxy is present. Some of them come along the syringes. Syringes ensure the quick and proper distribution of epoxies on the broken part. In example yous lack the syringe, be sure to use the stick and utilize eyes for equal distribution.
Many people commit the mistake of using mucilage as a folder for ceramic cracks. Such type of cracks is irreparable with glue, as gum sticks them up. It no longer gives attachment to ceramic bowls, and it gets to break in the time to come too.
Attaching the broken edges:
As mentioned before, have a wooden stick or a plastic stick to spread the epoxy over broken ends. Dot get afraid of the overflow of that epoxy over edges as yous tin remove information technology afterward on. Additionally, if you lot are dealing with cracks instead of breaking, you must use a toothpick. A toothpick will button the epoxy deep into the cracks. Whatsoever other tool tin't perform this job better than a toothpick. Afterward putting the epoxy, squeeze both pieces together tightly. People likewise search, how to make ceramic pan nonstick?
Pressing the edges:
Hard printing the broken pieces together firmly. Apply more pressure equally you lot can to squeeze them off. Don't immediately release the vessel on squeezing because the epoxy takes some time to get attached permanently. And so, yous must wait for some time and don't testify bustle. Try getting in line and keep holding it. Many people ask about the holding time for epoxy. Well, it relies on the type of epoxy, as instructed. At to the lowest degree squeeze information technology for at to the lowest degree 30 seconds.
Wear protection:
Just don't worry about the adhesive that can stick with your hands. It is removable and if you lot are extra conscious, use gloves while working or dealing with adhesives. Ceramic bowls can develop many cracks in dissimilar places. If you intend to make full the cracks, don't exercise it all at once, and instead, attempt ane by one. Sometimes, a situation arises when both pieces don't go stick together. In such conditions, you can have a piece of molding clay to pinch the edges together.
Remove the adhesives from sides:
Accept a sharp razor, sharp enough to scrap all the epoxy from the surface. Repairing of the bowl is almost on completion. The epoxy presents an odd view when it comes out of the cracks and requires cleaning. Have a razor and make clean it upwards. I don't have any razor, so take a blade and clean it upwardly. A sharp knife is also a better choice.
Just before removing the epoxy, brand sure that it has set up in its place very well. Information technology has dried between the cracks completely. Setting fourth dimension is dissimilar for different epoxies. Even some take hours to set completely. And once you have confirmed its dryness, run a blade along the surface.
Most of the epoxies that are in the market have xx to thirty minutes. Notwithstanding, information technology'southward ameliorate to follow the instructions given.
Using the sand:
Before finishing, there comes a step to shine the surface of the ceramic bowl. The cracks we only filled aren't smooth yet every bit epoxy is used hither. The surface is lacking a smoothen layout and looks odd. Fix the rough appearance using sand. Rub the sand over cracks, and it volition take away the roughness and ensuring there are no bumps over the surface.
Confirm the surface by rubbing your thumb over the ceramic surface. Fingers have a lot Of sensitive catastrophe from the brain and can detect the settings very well.
Coloring the ceramic basin: The final step for fixing bowl
Information technology is the final step to painting the cracks. Painting the scissure will entirely get in new. Cull the pigment exactly like to the pigment already installed. Moreover, if your cracks are visible, you must use acrylic paint for this purpose. Try mixing the colors to become the color that matches your ceramic basin's color. Savour using the spray of color if some other surface of the basin is shiny and you lot want to have cracks less noticeable. In the terminate, we hope how to repair a ceramic bowl article helped you lot out.

How To Repair Ceramic Bowl,
Source: https://www.ceramices.com/repair-a-ceramic-bowl/
Posted by: porcheprown1962.blogspot.com
0 Response to "How To Repair Ceramic Bowl"
Post a Comment