

How To Repair Ceramic Figurine
While making and working ceramic animals, I sometimes observe myself needing to repair porcelain figurines. They either broke while I transported them, they sometimes cracked in the kiln or had an accident while glazing. The consequence is always the same : either throw it abroad or repair the porcelain figurine. As most of the states, I detest to throw things away and so I'll prove yous how to repair porcelain figurines.
These repaired figurines are adoptable for a reduced toll on my Ko-Fi page.
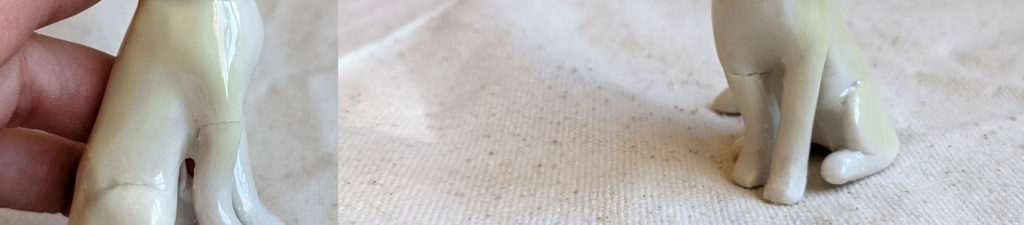
Stride ane : assess the impairment
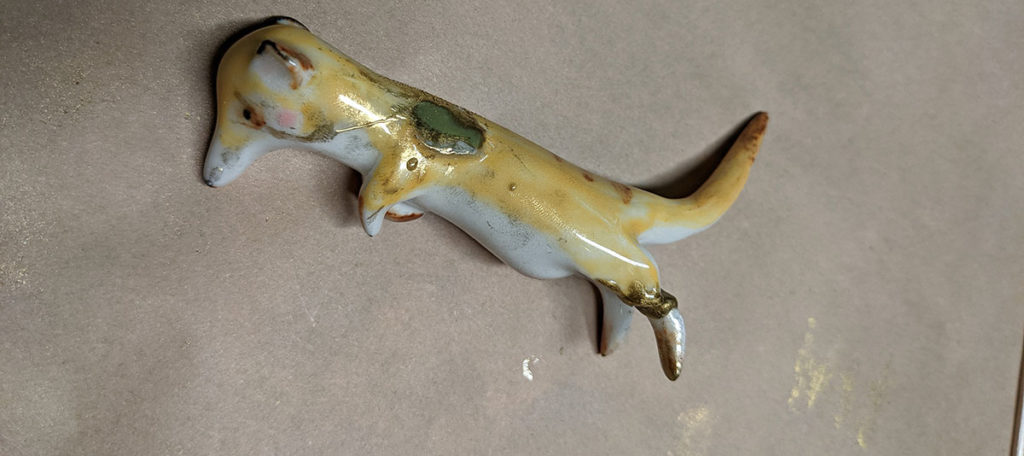
The first step to repairing is accurately assessing the damage. Some pieces are cleaved beyond any promise so information technology'due south a good matter to know what you'll be dealing with. What'southward repairable : make clean cuts, like a leg or a head broken off. A higher level of difficulty is a flake or scratch or hairline fracture. Most pieces that are smashed into tiny little pieces are normally non repairable. But you tin can sometimes replace a scratch or a sanded patch with epoxy and gold, every bit I did on the wolf.
Footstep 2 : gathering materials to repair porcelain figurines
I will repair my porcelain figurines in a kintsugi style. It means that I volition use a technique resembling the Japanese art of kintsugi, with more attainable products. Traditional Kintsugi uses fine gilded pulverisation, which is very expensive, and a kind of sap that is both toxic (latin proper name Toxicodendron vernicifluum , speaks for itself) when wet and hard to come past here in Canada. It's called urushi, and it has a very long life span too. Since I'm non a kintsugi main and don't pretend to exist, I volition rather utilise a cheaper but still sturdy and easy of use epoxy gum.
Epoxy is the perfect glue for clay sculpture, it will attach strongly on unglazed works and be hands removed on glaze.
Instead of real gold I'll use mica powder that comes in dissimilar colors too. The result is non quite Kintsugi, as I exercise not pretend to have studied or mastered this ancient craft, but something budgeted, plumbing equipment for our goal is : fixing porcelain animals.
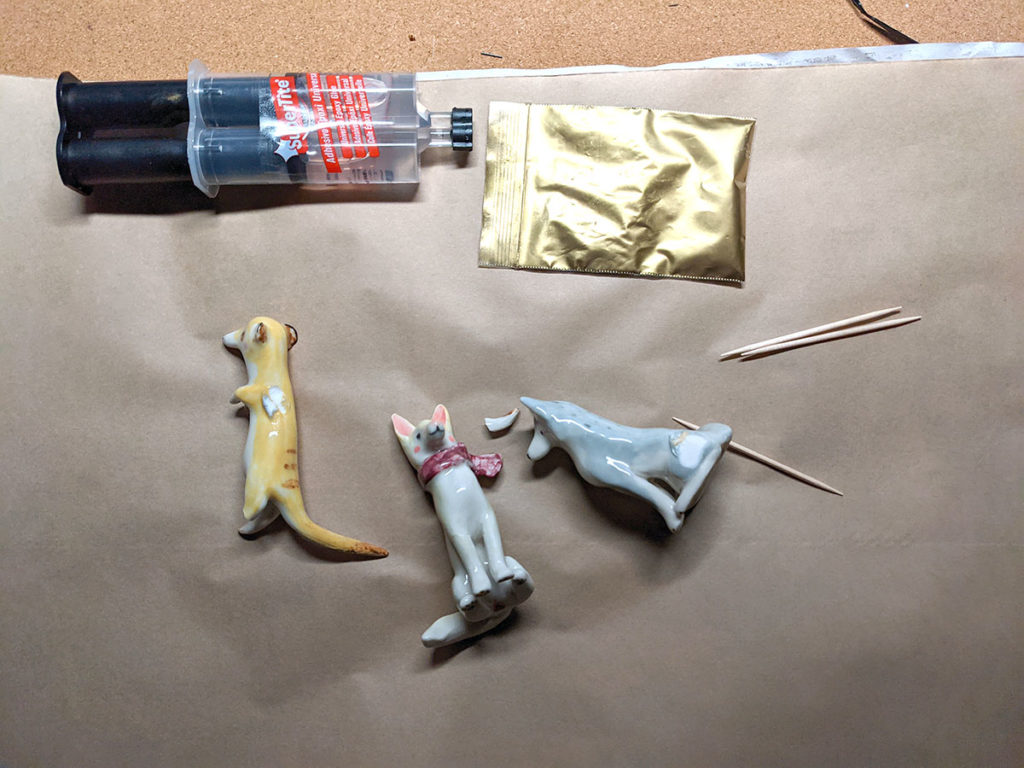
Build your ain porcelain figurine repair kit :
- an epoxy resin tube, any brand should practise
- a small amount of mica pulverisation in any color you like (I love gold)
- wood toothpicks
- kraft or any paper to protect your table
- a small cardboard palette to mix things
Your equipment :
- gloves (preferably nitrile)
- a breathing mask if available, it's actually all-time if yous mean to work on this for a piddling while.
Step iii : Cleaning and Sanding the porcelain figurines
The pieces should be clean and free of grease, yous can apply lather and h2o, thoroughly rinse and dry and you should exist good to get. Protect your work surface with paper or cardboard, and use toothpicks, whatsoever brush will be ruined past epoxy resin with no way of repairing it.
You should wear gloves and a mask and work in a well ventilated area. Goggles would be advisable too.
One time clean, cheque if yous need to sand your pieces, if and so utilise a diamond sanding paper (from DiamondCore Tools for example) and clean out the surface you'll work on. I utilise sanding on parts that fused together during firing, whether they got stuck to some other piece or to the kiln shelf.
Pace four : Prepare your actions
Epoxy gum will dry out very quickly. and so you'll need to be prepared : if you work on a piece that you lot need to go on standing, piece of work on it concluding and begin with the pieces that tin stand up on their own. Otherwise you lot'll lose the glue.
Step five : Mixing materials
First I volition mix the epoxy glue together and add a pinch of Mica powder to the mix.
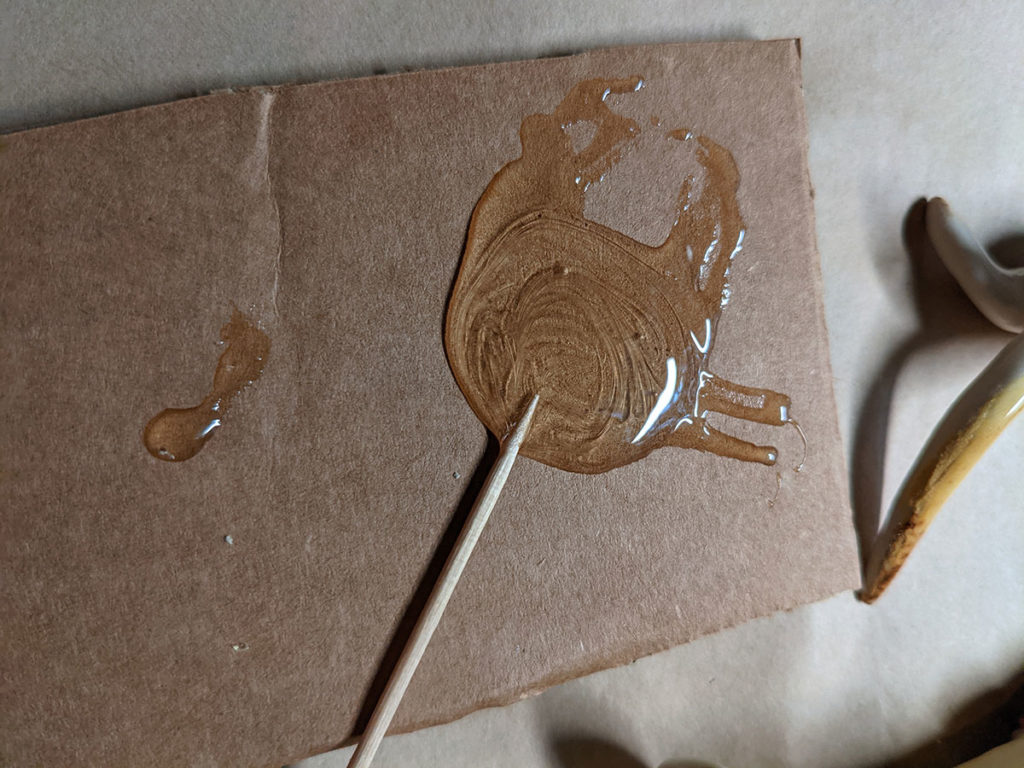
Step six : use the epoxy mix to the figurine
And then you volition have to work chop-chop. Hither I had patches to craft and a leg to reattach. The easiest fix were the patches and so I attended to them first. I added a tiny amount of the mucilage + mica to each piece with the toothpick, trying to be as make clean as possible.
Pace vii : sprinkle mica pulverisation over the fresh resin
While the glue is still fresh, utilise a castor to lightly sprinkle mica powder over the patch. It volition add more than shine to your gold repair. Merely use the castor with the powder, not the epoxy glue or your brush will be ruined.
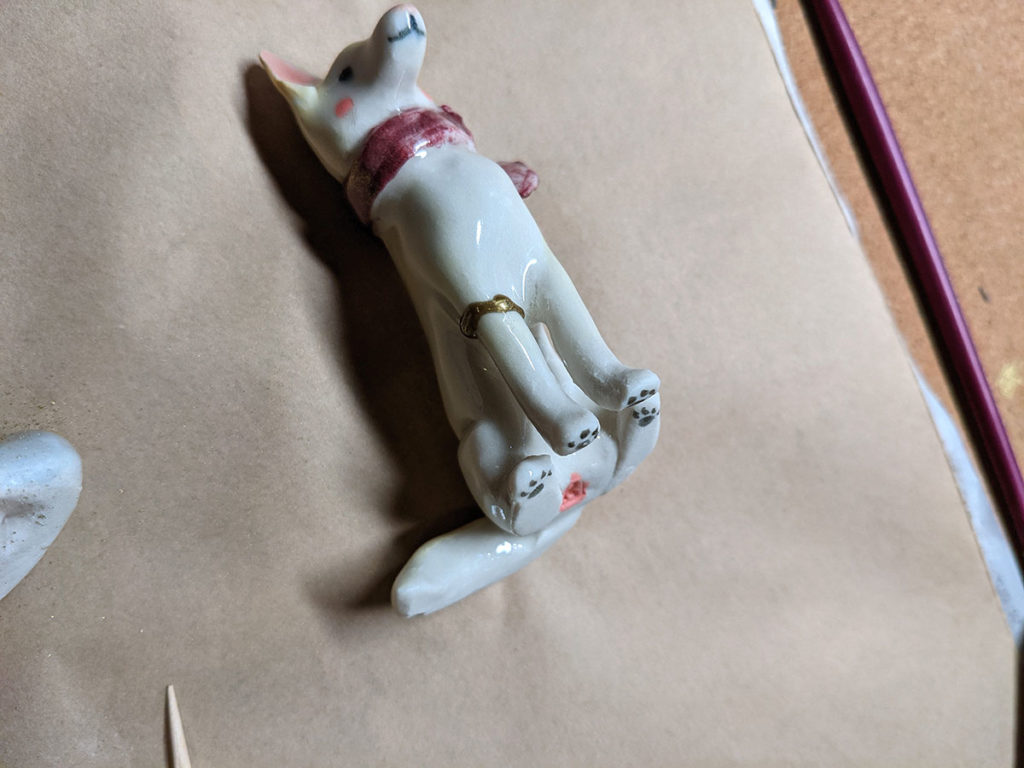
Fixing a porcelain figurine : legs
In one case my patches are washed, I exit them out to cure and I nourish to the most difficult part. This 1 is a challenge for reasons : it's a tripod then its residual is very frail and the leg never really supported the piece considering it fell into the kiln and got a chip deformed.
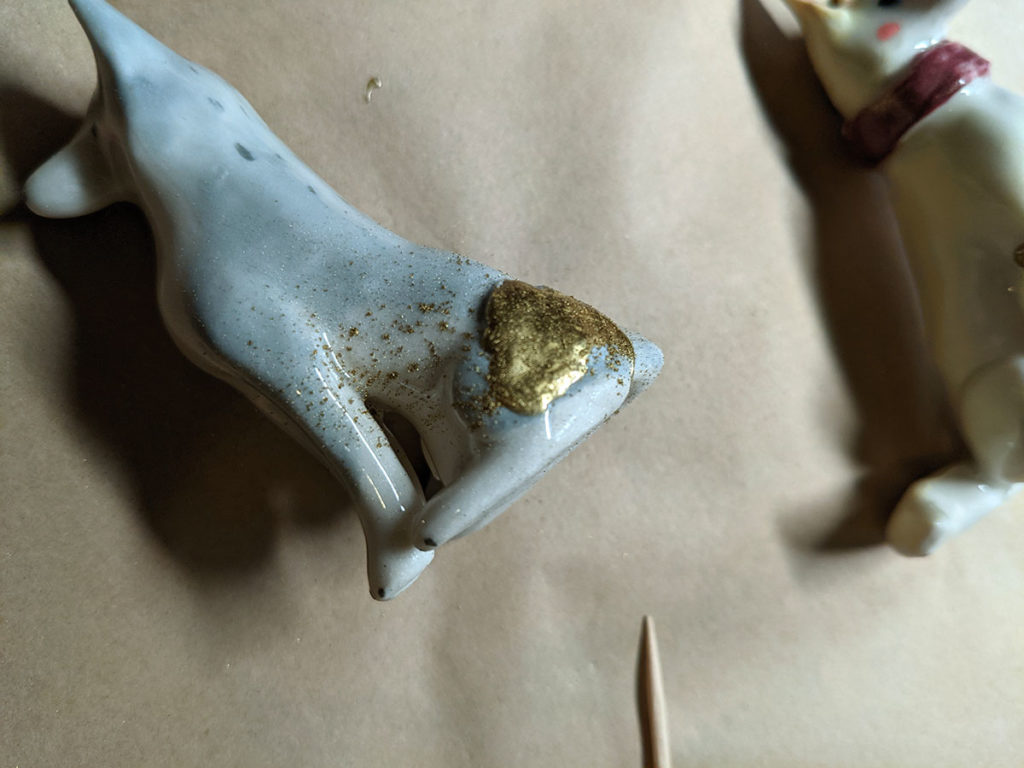
So outset I'll repair the patch where it attached to the wolf. I will try and not put my fingers into the mix (I failed to but was able to clean it).
Then I'll repair the leg and try and residuum the piece. The leg needs a little more than glue because the repair surfaces are not fitting perfectly. The start thing is securing the rest and only after information technology stands will I take intendance of the visual attribute.
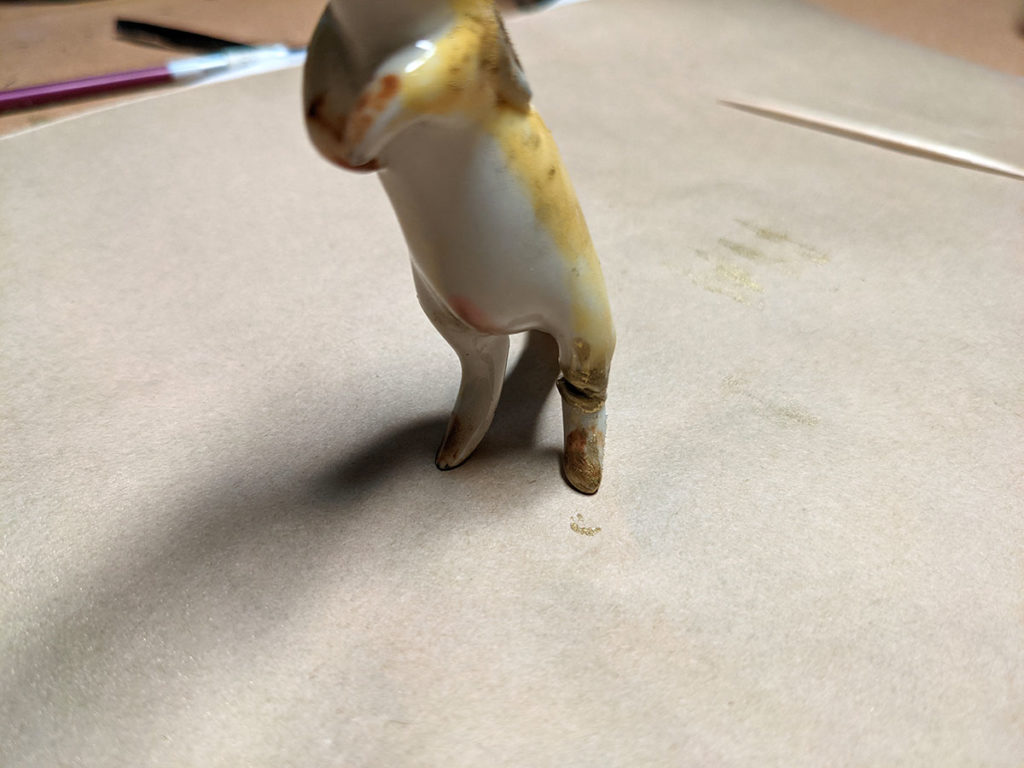
After I stock-still the leg, I sprinkle a small amount of mica onto the resin and wait. Later on a few hours, it's ready to be cleaned up. If the glue is still a tiny flake sticky to the touch on, wait until it's completely dry out. I then wash the figurines with lather and water. I volition besides scrape any extra resin from the glazed porcelain in social club to have the cleanest issue possible.
That's it ! Epoxy is very resistant and sturdy. Your pieces should exist good to go for another few years or until the next knock out 😀
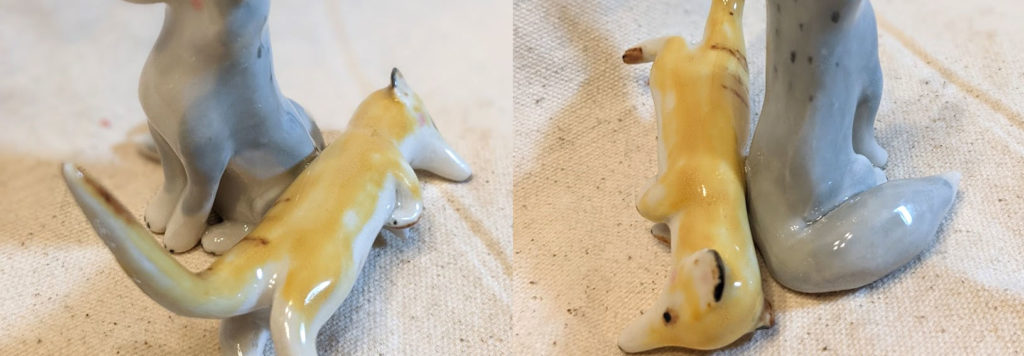
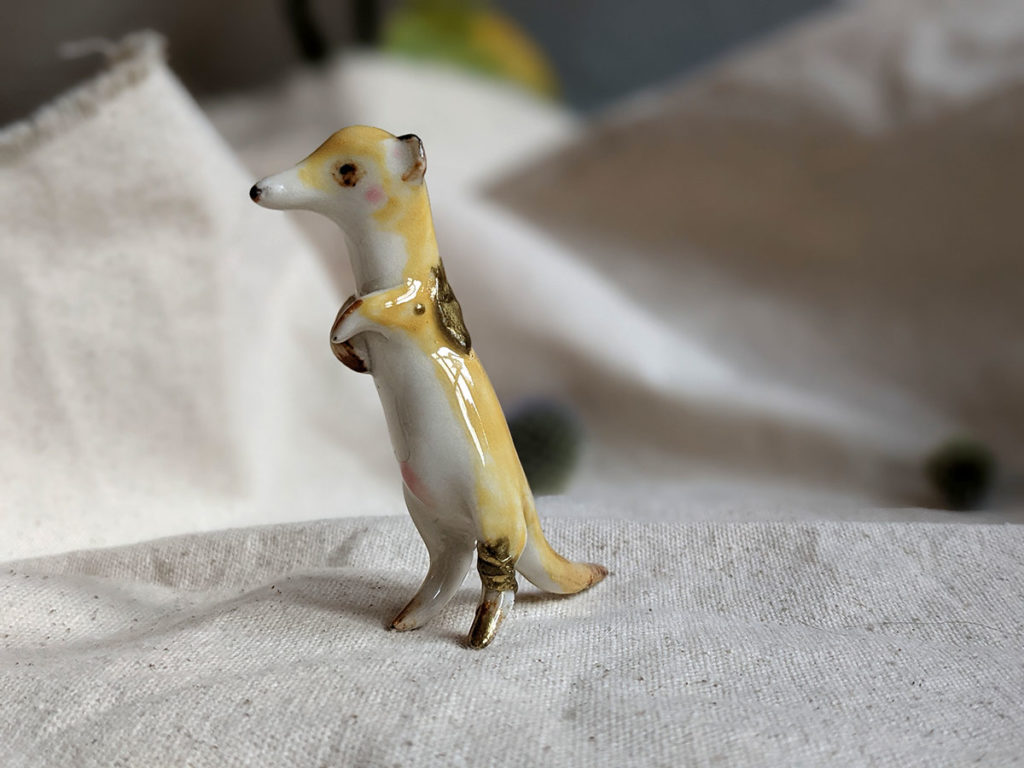
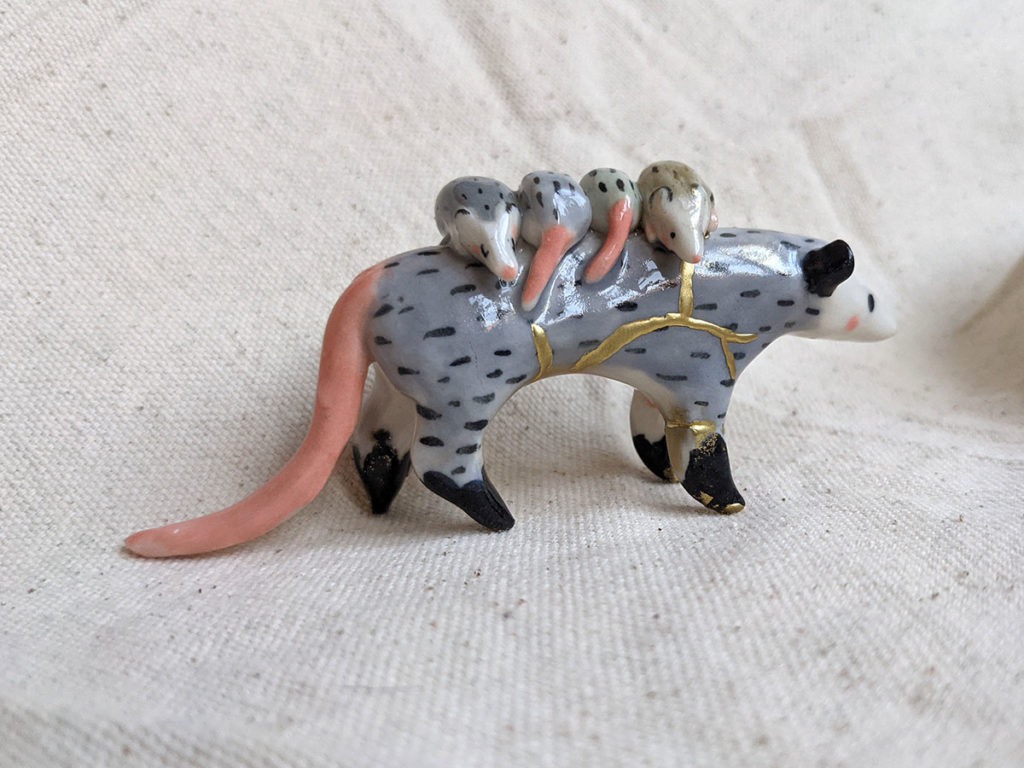
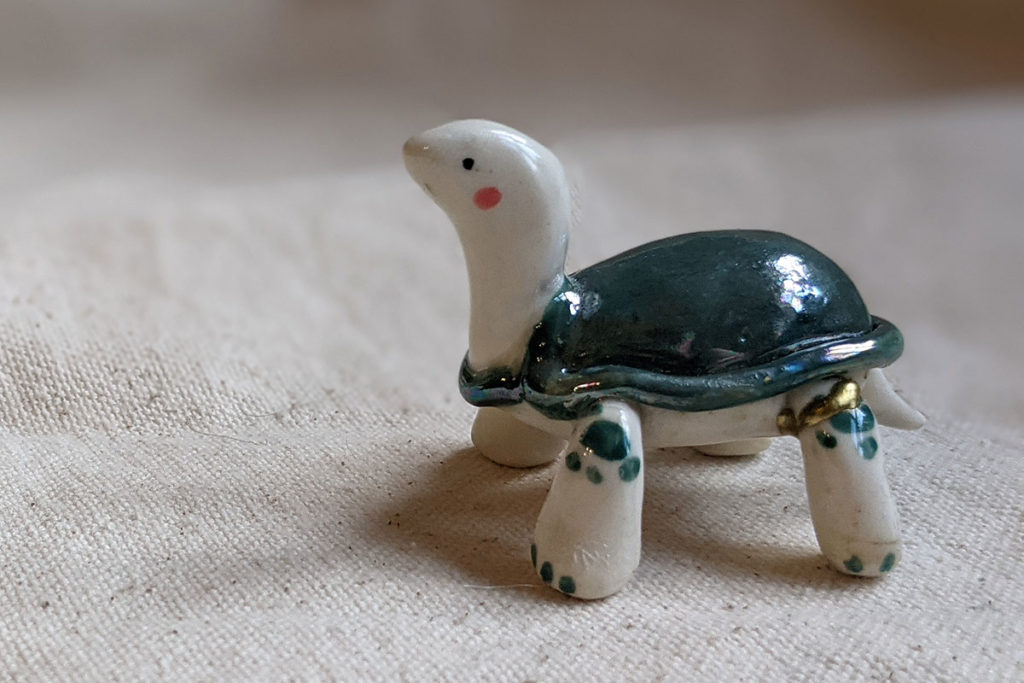
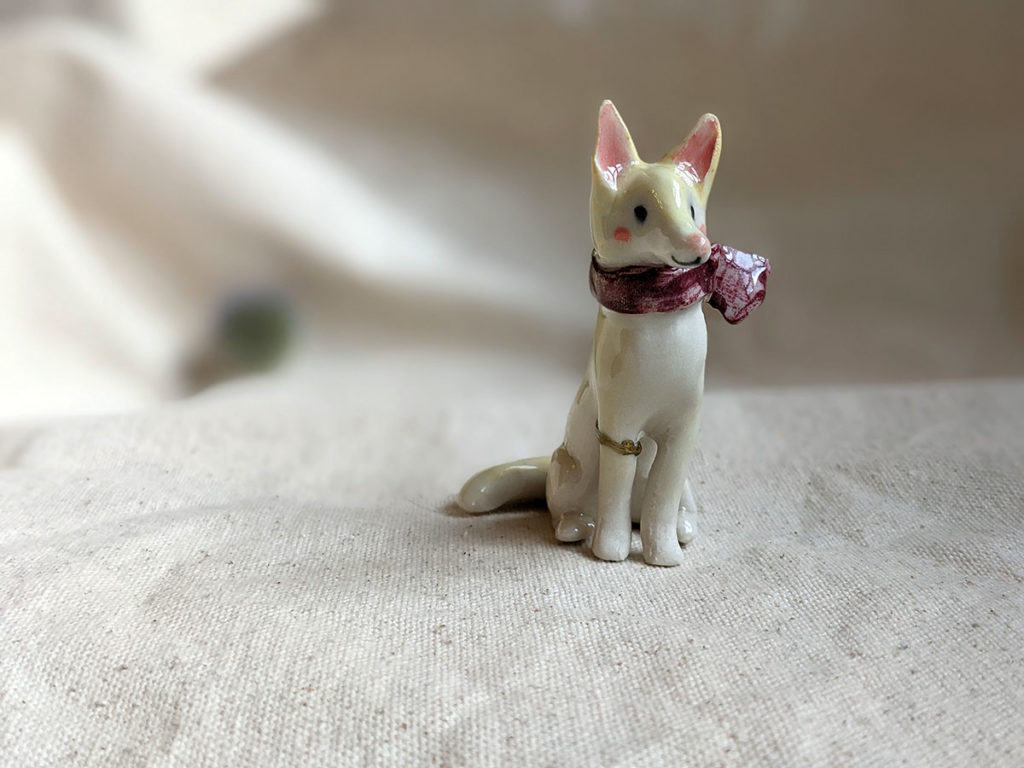
Repaired porcelain figurines examples
Hither are a few kintsugi fashion reparation I made on my pieces.
Source: https://www.kness.fr/en/how-to-repair-porcelain-figurines/
0 Response to "How To Repair Ceramic Figurine"
Post a Comment